How to Make Fairy Dust
Don't you just love the pretty pink color of this Fairy Dust Glitter? Its pastel hues reminds me of the stereotypical Fairy Princess's ball gown! Even though I'm not the biggest fan of pink, I am very happy with how this fairy dust (or pixie dust, if you'd prefer!) looks. It sparkles and shines in the light so brilliantly and is so very cheery looking that you won't be able to help but to smile at its fairytale charm. This magical glitter is great for using in various crafts, bottling up and giving to friends (go ahead and attach a cute message around the bottle's neck!), or to use as party favors or props at a fairytale themed wedding, birthday party or other special event. And to tell the truth... potion bottles filled to the brim with glistening glitter makes your home feel quite a bit like a fae wonderland when you use them as decor! Goodness... the possibilities are endless! ♥
Anyways, I'm caught up in rambling now!!
I bet you'd really like to know how to make your very own magical fairy dust, so I'll quit yammering and get on to the DIY tutorial!
Step One: Gather your Materials
In this day and age, you don't need the help of Tinkerbell to get your hands on some fairy magic! While this sparkly concoction will not make you fly (so don't go jumping out of any windows, please!), it is so glittery and so beautiful that it is sure to make you smile just looking at it. Below I have outlined everything you will need to make this "Princess Pink" Fairy Dust glitter blend. You should be able to find everything you need at your local arts and crafts store or in the description of my video. I also sell pre-made potion bottles full of this glitter on my Etsy Store, if you can't find the materials to make it yourself. I'd be more than happy to whip up a batch of magic just for you! ♥ (PSSSSTTT!!! I also have a Blue Pixie Dust for sale too!) ♥
Here's what you'll need:
- 4 Tablespoons White Glitter
- 3 Tablespoons Magenta Glitter
- 3 Tablespoons Superfine Glow-in-the-Dark White Glitter
- 3 Tablespoons Superfine Light Pink Glitter
- 4 Tablespoons Cellophane Glitter Chunks
- Glass Potion Bottle with a Cork Stopper
- Large Mixing Bowl
- A Funnel
- A Spoon
- Tablespoon Measuring Utensil
Step Two: Mix up some Magic!
Do you have everything you need? Perfect! Then what you'll want to do next is watch this video. I worked very hard on it, and I think you'll find that it explains the fairy dust making process quite well. :)
Step Three: Frolic in the Sparkles!!!
I think this next step is pretty self-explanatory. :)
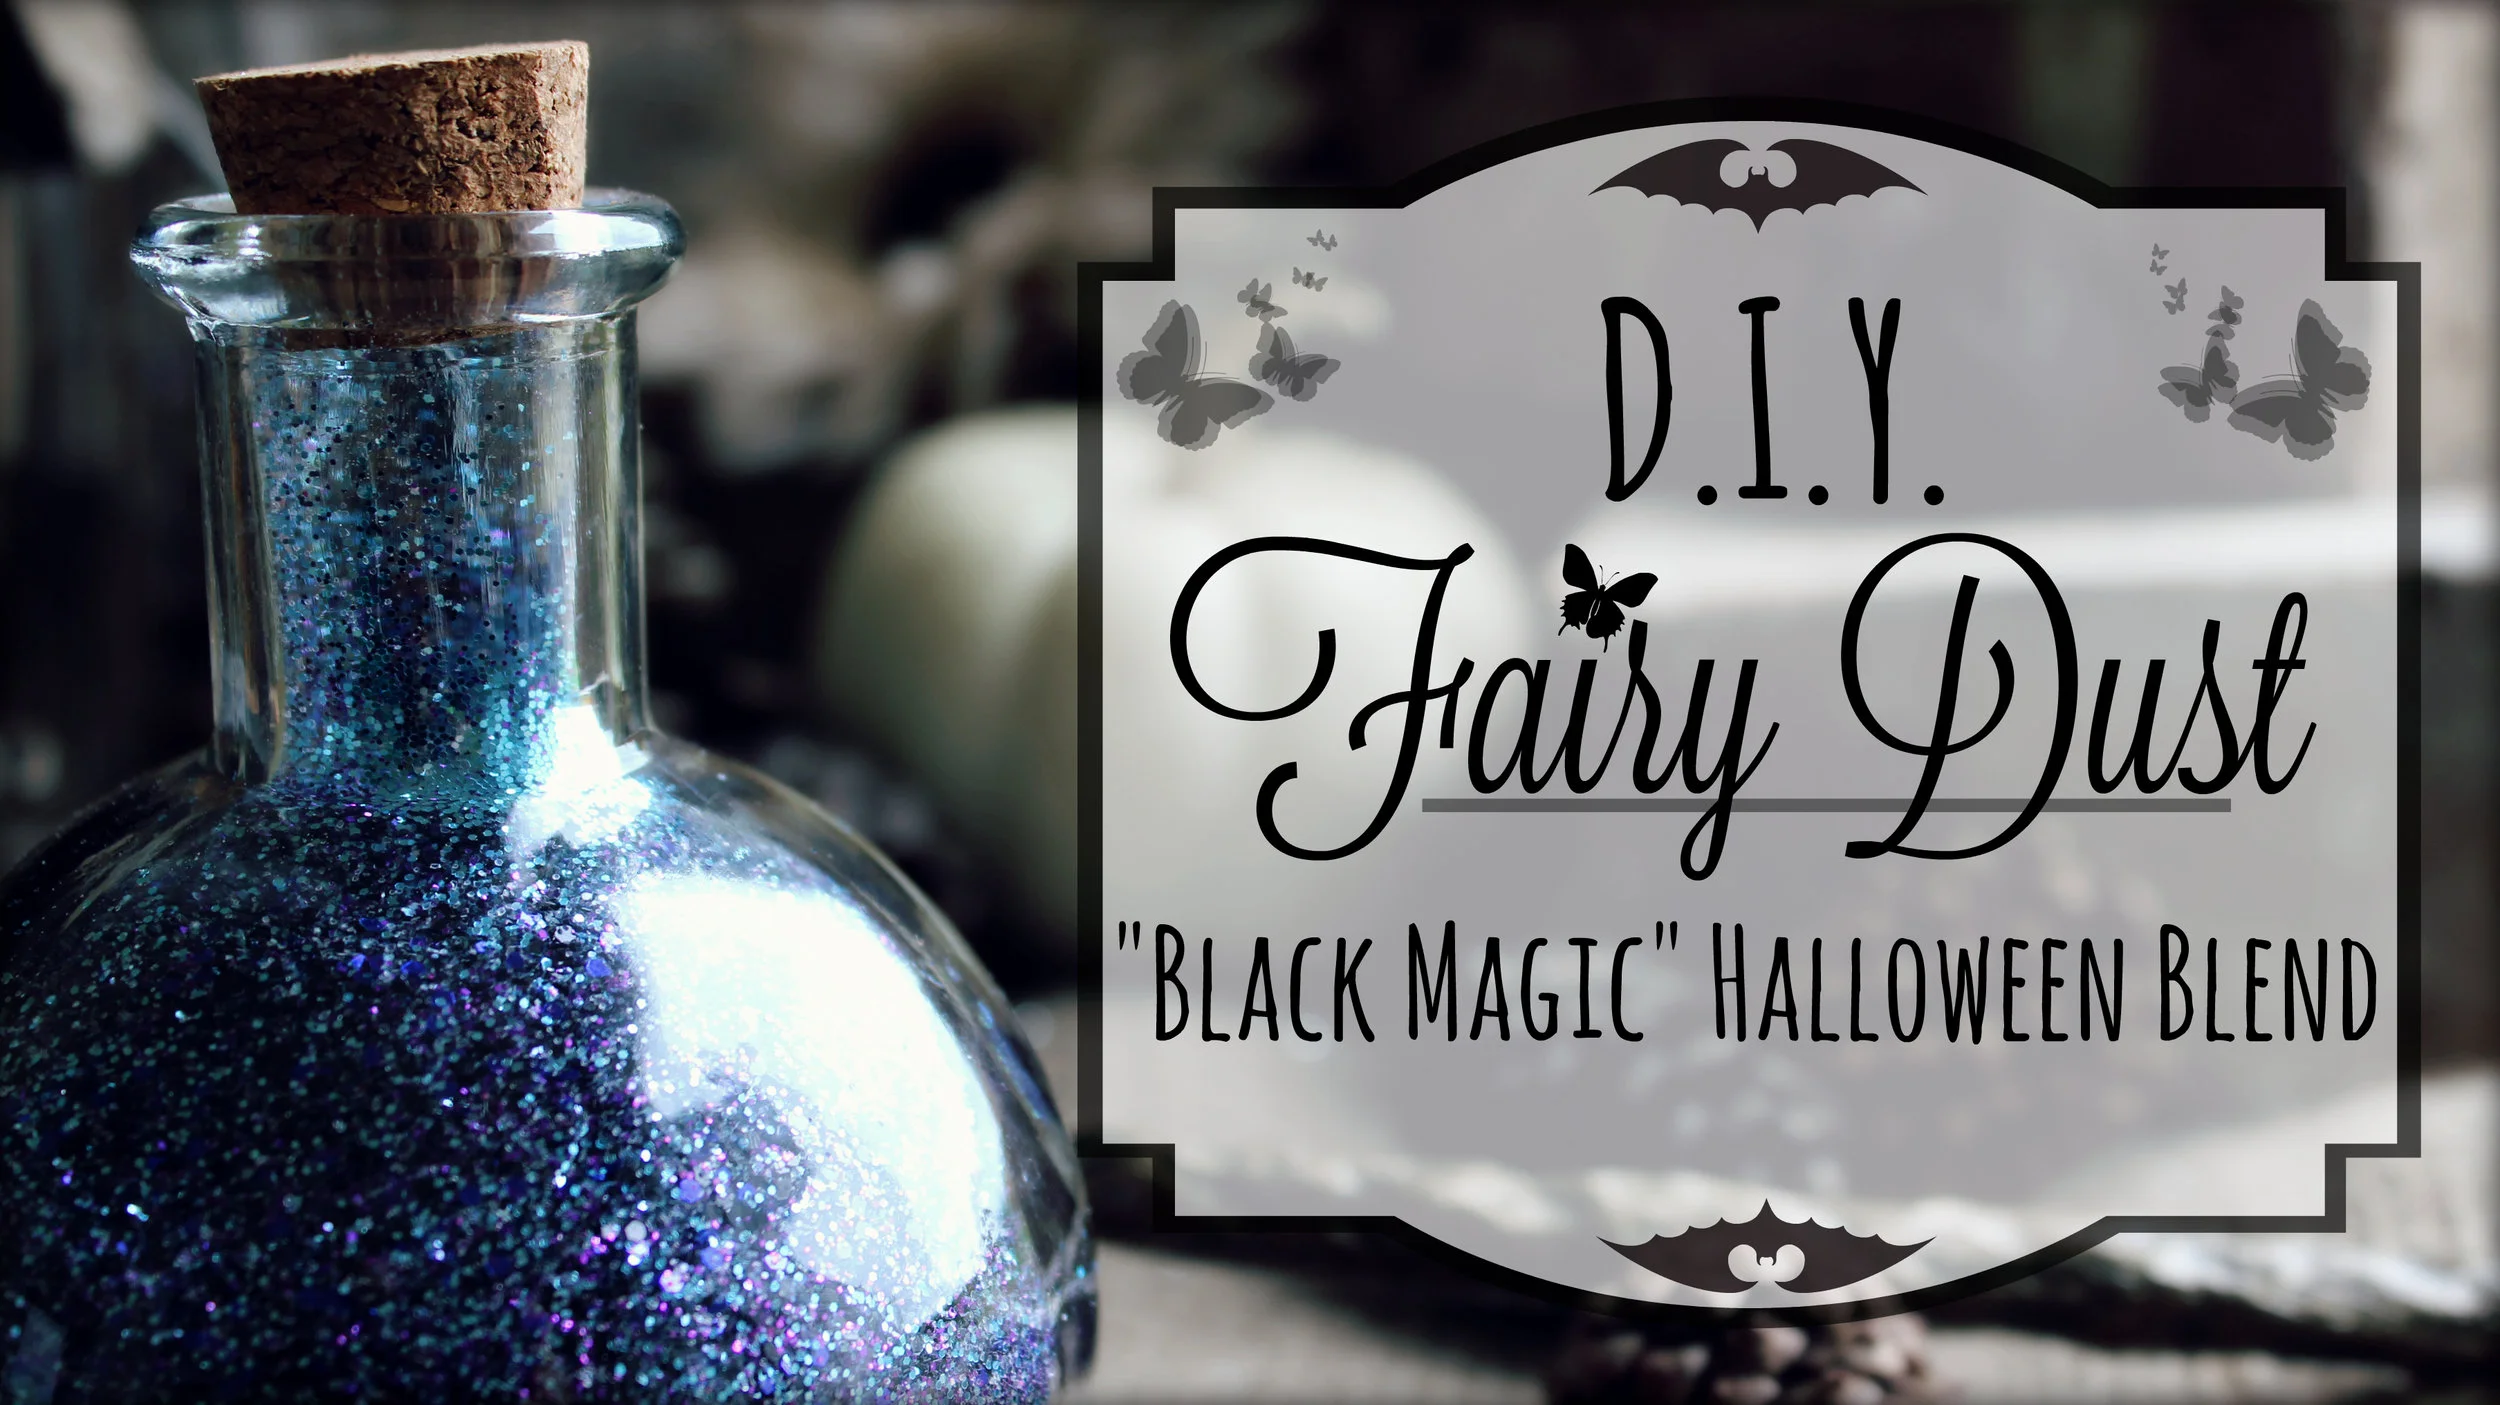
When you're all done making your fairy dust (and have cleaned up your mess) you can do whateeeever you want with it. Keep it. Use it for crafts. Give it to a friend. Decorate your home with it... it's up to you! And if you just can't seem to stop at one bottle of glitter, then please help yourself to this DIY Blue Fairy Dust Tutorial. I like that one a lot too!
As always, thank you for taking the time out of your day to craft some magic with me. I'd love to hear what you'd like for me to create for you next, so don't be shy about commenting here or on any of my videos.
Happy Faerie Friday!
XOXO Mermaid Phantom
♥ More Magical Videos! ♥
Did you enjoy learning how to make the Princess Pink Fairy Dust? You might find these other DIY projects fun too! Just be sure to enter into full-screen mode for the most enjoyable viewing experience. ;D


